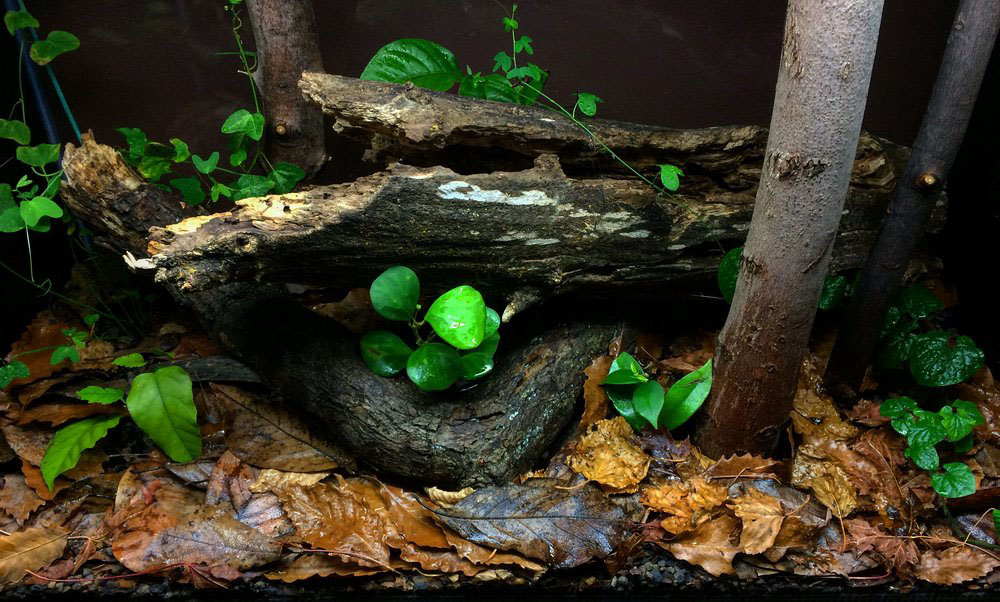
While being used as a planted aquarium, this 65-gallon (256L) glass tank developed a conspicuous etched haze around and above the waterline. A few sessions of polishing with cerium oxide powder restored it to pretty good condition. It now provides a clear view of the forest terrarium planting inside.
The quickest and easiest way to spruce up any aquarium or terrarium is to clean the front glass panel by removing algae, hard water deposits, dust, and fingerprints. My preferred tools for glass cleaning are a clean rag moistened with mild household cleaner (for the outside glass surface), along with a razor blade and white kitchen vinegar (for the inside glass surface). A razor blade is the best way to scrape algae away without danger of picking up sand particles that can scratch and ruin the glass, like a scrubbing pad can, while the vinegar will soften the mineral hard water deposit that tends to accumulate at the water line with evaporation.
Etched glass haze
Although a quick pass with a razor blade can restore visual depth to the layout and bring plants and livestock back into clear view, a vexing problem may arise with glass tanks that have been in use for a few years: a cloudy haze that defies all attempts at cleaning. No amount of scraping or dissolution with vinegar can remove this haze blemish because it is physically etched into the glass surface. It can truly spoil the view. Because water fills the microscopic haze relief, light hazing mostly disappears in direct contact with water, but it can be very conspicuous and distracting for glass surfaces above water, such as fish tanks not quite filled to their top rims, paludariums, ripariums, vivariums, and terrariums.
I have watched glass haze develop in these two common conditions:
- Prolonged hard water deposit
- Prolonged water condensation
Hazing due to water condensation occurs as a consequence of “ion-hungry,” acidic (due to formation of carbonic acid in reaction with CO2), almost pure condensed water removing metal ions from the glass. In addition to silica (SiO2), aquarium glass may also contain aluminum, calcium, magnesium, and sodium. Hard water scale etching must work via a different mechanism, although I have not been able to figure out the specific interaction involved. (Reader, please comment below if you know the answer[s] to this.) Hard water etching of glassware is a common problem with dishwater use, where strong detergents also contribute to the problem. Etching caused by water condensation and hard water deposit can also disfigure glass shower stalls.
As with shower stalls and glass dishes, prevention is the best cure for glass etching in aquariums and terrarium enclosures. Every time that you clean your aquarium, take special care to soften and scrape the hard water deposit that develops at the water line. If water droplets condense on the glass viewing panels of a terrarium, vivarium, or paludarium, then increase ventilation. Be mindful also of temperature differences between the room environment and the inside of the enclosure. Condensation occurs more readily on cool surfaces, so a warm vivarium in a cool room will have more trouble in this regard. An early sign of a damaged glass surface is a faint oil slick iridescence; take corrective measures when this is observed to prevent more conspicuous glass etching.
Cerium Oxide to the Rescue
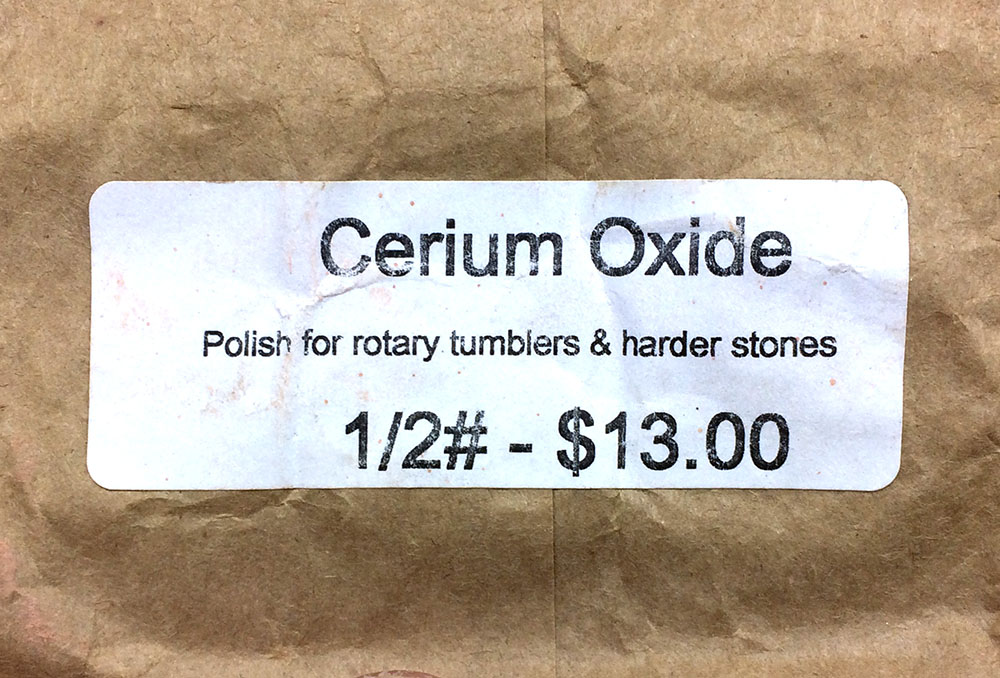
While it requires an investment of work and time, there is a remedy for enclosures with etched glass. Cerium oxide (CeO2) is a pale pinkish powder with a very fine abrasive effect used to polish glass and other surfaces. Cerium oxide may be found for sale from online sellers, lapidary supply, or shops with automobile restoration supplies. Here are a few basic tools and materials required in addition to the cerium oxide powder for polishing aquarium glass:
- Electric drill
- 4″ cloth buffing wheel
- Shallow dish
- Water
- Cloth rags
- Magic marker
Read the cerium oxide Material Safety Data Sheet (MSDS). While it is not a highly hazardous substance, contact with skin and eyes as well as respiration of cerium oxide particles should be avoided. I use this personal safety gear when polishing with cerium oxide:
- Eye protection
- Respirator or tight-fitting dust mask
- Rubber gloves
- Ear protection
I prefer my chemical respirator for jobs like this because the rubber facepiece makes a perfect seal around my nose and mouth, whereas airborne particles can get around a loose disposable dust mask. Polishing may take several hours for a medium-size tank, and ear muffs will provide protection against the loud whine of the electric drill. Avoid contact with the cerium oxide and wash away any that contacts the skin. Glass polishing with cerium oxide is wet and messy, and you should also be mindful of electric shock hazard around the electric drill. Use a rag to soak up water puddling in the bottom of the tank.
Obviously, the glass tank must be emptied of all livestock, decorations, and substrates before polishing with cerium oxide. Take special care to clean sand particles from the bottom of the enclosure so that they are not picked up by the cloth buffing wheel to scratch the glass.

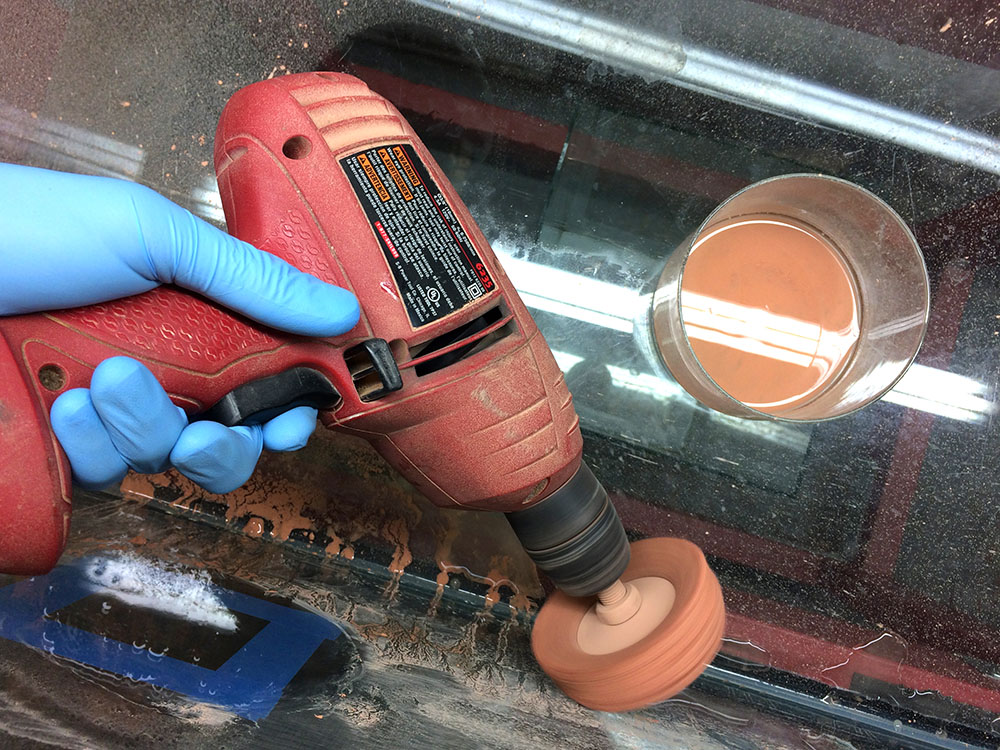
Polishing an aquarium glass panel with cerium oxide powder and a cloth buffing wheel in an electric drill chuck. The buffing wheel is kept moist to prevent overheating (and potential shattering) of the glass and to reduce airborne cerium oxide powder.
How to Polish with Cerium Oxide
Place the shallow dish in the bottom of the tank and add a small amount of water along with a heaping teaspoon of cerium oxide powder. Moisten the cloth buffing wheel, then use it to pick up the dry powder. Some written instructions for cerium oxide polishing describe a paste made with the powder and water, but a paste won’t really stick to the fast-spinning buffing wheel; the cloth will instead become impregnated with particles as you work. Pick up more water and cerium oxide from the dish as required.
When glass is heated at different rates across its surface or through its thickness, internal thermal stress can cause it to suddenly shatter. Thus, keep the cloth buffing wheel moist and move it over the glass while polishing.

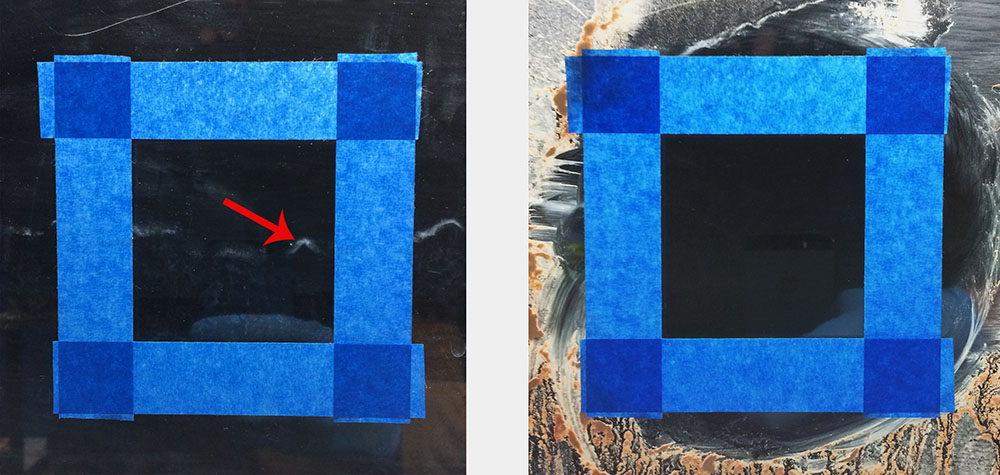
Before and after photographs showing a 6.25 square inch (40 square centimeter) area of aquarium glass polished with cerium oxide powder. Areas of deeply etched glass (red arrow) indicate the former waterline. This small area required about 4 minutes of polishing to remove the etched haze (right).
This is time-consuming work. I recently polished the 36″ X 18″ X 22″ (91cm X 46cm X 56cm) front panel of a 65-gallon (246L) tank, and it required a full workday of polishing, in several sessions, to remove a moderate etched haze. One way to advance more efficiently is to polish across the whole surface until the lightest areas of haze are cleared up. Wipe away the cerium oxide with a rag to check your progress. It may be necessary to change the angle of your lighting to see a faint haze as you polish it away. A bright headlamp can also be helpful for careful inspection. As larger areas become thoroughly polished, draw an outline on the outside of the glass to indicate areas that are still hazed, then concentrate your effort there. The glass will be restored to near-pristine condition as you finish up. When your polishing job is complete, use a cloth rag, plenty of water, and your siphon hose to remove all cerium oxide from the tank.
Caveats and Considerations
Keep in mind that cerium oxide will do little to fix even very fine scratches, so consider a different option for glass that is also scratched. Also, consider the value of your time and whether it’s really worth your while to polish glass for a reused display aquarium. It may be more cost-effective to simply purchase a new enclosure instead of polishing the glass on a large tank with bad etching. The hazy tank can then be repurposed instead for fishroom breeding or vivarium plant grow-out.
Cerium oxide polishing can be an effective way to restore the crystal-clear transparency of a used tank, or truly economize with a curbside “Hippy Christmas” discarded free aquarium, which almost always have an etched haze. There are various other commercial polishing compounds and kits that may also include abrasive pads or sandpaper—some of these may produce faster results—but cerium oxide powder is economical, easy to find, and pretty easy to use.


Is this safe to use on a tank being used for fish?
That is valuable information and smartly written. Polishing anything takes a lot of time. I do acrylic tanks, and have $200 worth of supplies, a 50g tank takes days. and after I am all done, the original haze may be better, but in no way ‘fixed’ like new.